How To Add A GraphQL API To Your Wordpress Application

Summary
For well over a decade after its release, Wordpress has grown to be one of the most loved and used Content Management Systems (CMS) for software developers and content managers.
Within this article, we will explore how we can expand Wordpress by introducing a GraphQL API. We will learn how GraphQL can be added to the default REST API provided by Wordpress.
Introduction
Ever since Wordpress was developed as a successor of the b2/cafelog blogging platform, it has grown over the years to become a very flexible content management system (CMS) powering over 400 million websites on the world wide web.
While a CMS such as Wordpress gave developers the ability to build SEO optimized websites in the quickest time possible, developers often found it to be restrictive, as a template with a specific layout had to be used to display data to users. To improve this limitation, developers have embraced the use of a Headless Content Management System, which separates the CMS from the web application, and an API to fetch data from the CMS.
With regards to Headless CMS, Wordpress is also not left out as it can be used through an API. By default, Wordpress provides a well-documented REST API to externally send and retrieve data in a JSON format. For developers looking forward to utilizing the benefits of GraphQL in a modern frontend library or framework, the WpGraphQL plugin can be used to interact with your Wordpress API data using a GraphQL API.
In this tutorial, you will learn how to set up your Wordpress application to expose a GraphQL API and also use the GraphQL API in a demo React.js application. Before we proceed, let’s take a brief moment to go over the basics of GraphQL.
What is GraphQL?
The Graph Query Language (GraphQL) is an API specification that allows for interaction with data in a graph format. One of the major benefits of GraphQL is that it provides developers with the ability to retrieve the exact data needed.
GraphQL Operations
Interactions with a GraphQL API can be done through three main operations;
A Query operation performed to retrieve data. A query operation is similar to the GET verb in a REST API as it is used to retrieve data.
A Mutation operation performed to change the data retrieved through the GraphQL API. A mutation operation can be likened to the POST, PATCH, and DELETE verbs in a REST API as it is used to insert, update, and delete data.
A Subscription operation which also retrieves data, but in real-time.
It is important to note that the WpGraphQL plugin does not yet implement Subscriptions hence we will focus on performing Query and Mutation operation.
We will now proceed to set up a Wordpress project, and install the WpGraphQL plugin.
Setting Up A Wordpress Application
In this tutorial, you will be making use of Wordpress and MariaDB packaged within a Docker container as it simplifies the installation process. Rather than installing MariaDB and Wordpress locally, they can be used as services within the docker container.
Execute the command to create a directory called wordpress-api that will store files relating to Wordpress applications.
mkdir wordpress-api
Next, move into the newly created wordpress-api directory;
cd wordpress-api
Execute the wget command below to download a YAML configuration file which defines the docker container.
curl -sSL https://raw.githubusercontent.com/bitnami/bitnami-docker-wordpress/master/docker-compose.yml > docker-compose.yml
The configuration file downloaded through the command above contains a MariaDB service and Wordpress service whose images are maintained by Bitnami. The Wordpress service is exposed at port 8080 for accepting incoming connections to access the running application.
version: '2'

services:

  mariadb:

    image: docker.io/bitnami/mariadb:10.3

    volumes:

      - 'mariadb_data:/bitnami/mariadb'

    environment:

      - ALLOW_EMPTY_PASSWORD=yes

      - MARIADB_USER=bn_wordpress

      - MARIADB_DATABASE=bitnami_wordpress

  wordpress:

    depends_on:

        - mariadb

    image: docker.io/bitnami/wordpress:5

    ports:

      - '8080:8080'

      - '443:8443'

    volumes:

      - 'wordpress_data:/bitnami/wordpress'

    depends_on:

      - mariadb

    environment:

      - ALLOW_EMPTY_PASSWORD=yes

      - WORDPRESS_DATABASE_HOST=mariadb

      - WORDPRESS_DATABASE_PORT_NUMBER=3306

      - WORDPRESS_DATABASE_USER=bn_wordpress

      - WORDPRESS_DATABASE_NAME=bitnami_wordpress

volumes:

  mariadb_data:

    driver: local

  wordpress_data:

    driver: local
Using your web browser, navigate to the running Wordpress application at http://localhost:8080/admin and login to the Admin Dashboard using the default email and password credential.
Note: user@example.com is the default admin Email Address, while bitnami is the default admin password.
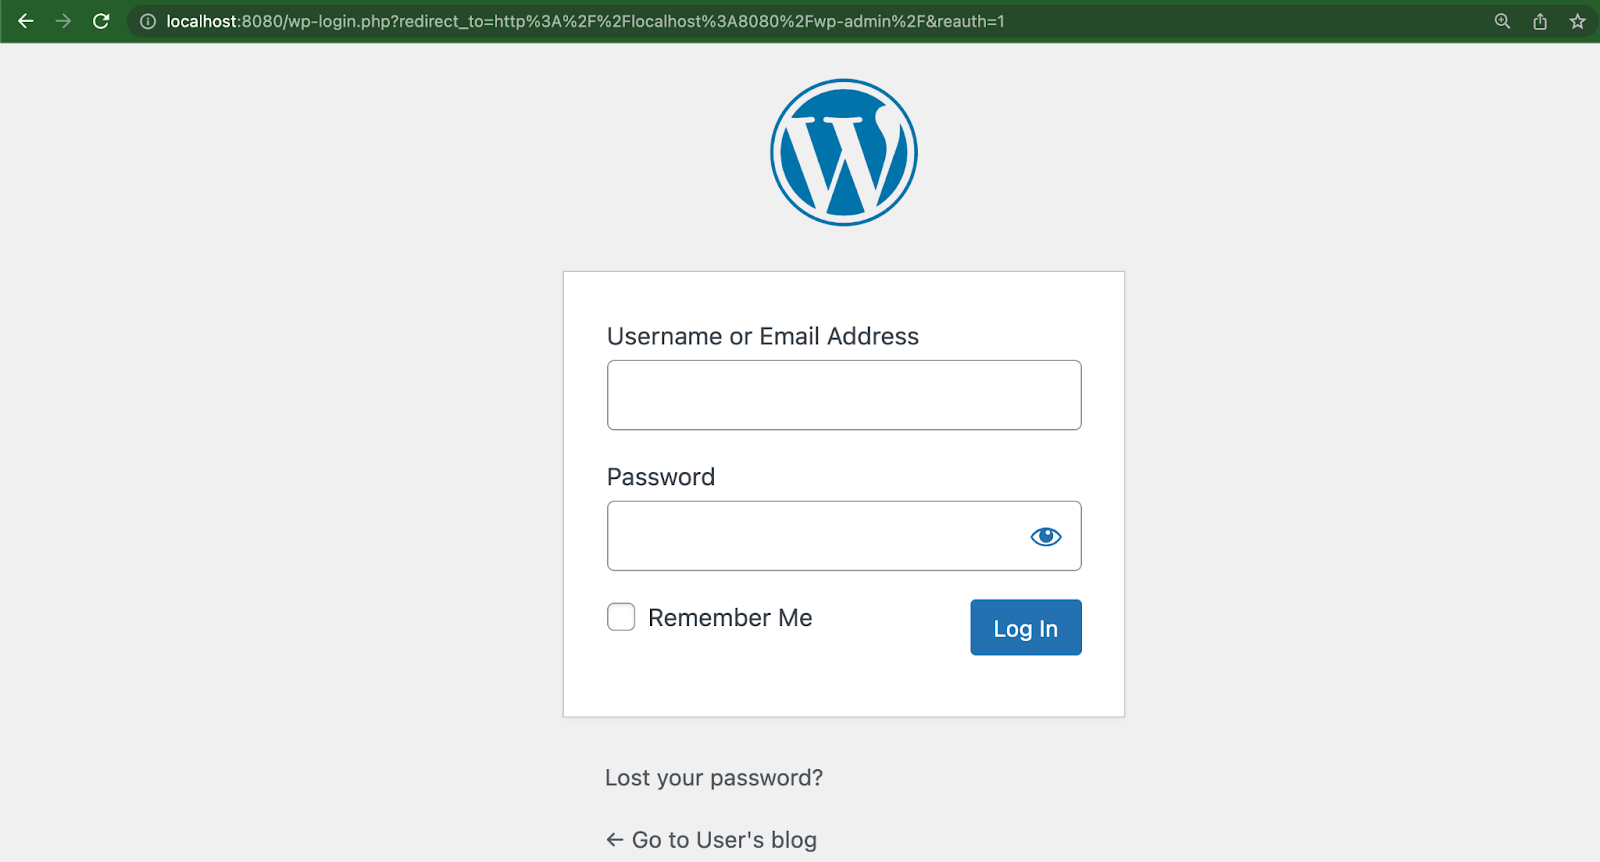
After a successful login, you will be redirected to the dashboard page to view details of the Wordpress application.
Installing the WpGraphQL Plugin
One way to install the WpGraphQL plugin is to download the ZIP file from the Wordpress plugins store and upload the ZIP file into your Wordpress application.
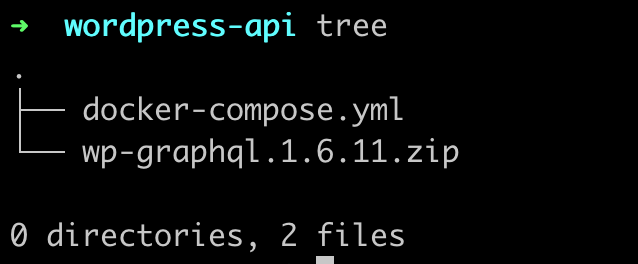
Execute the wget command below to download the wp-graphql ZIP file from the Wordpress plugins store to your local computer.
Note: The command below will download the 1.6.11 version of the wp-graphql plugin.
wget https://downloads.wordpress.org/plugin/wp-graphql.1.6.11.zip
Executing the ls command will show the ZIP file downloaded through the command above.
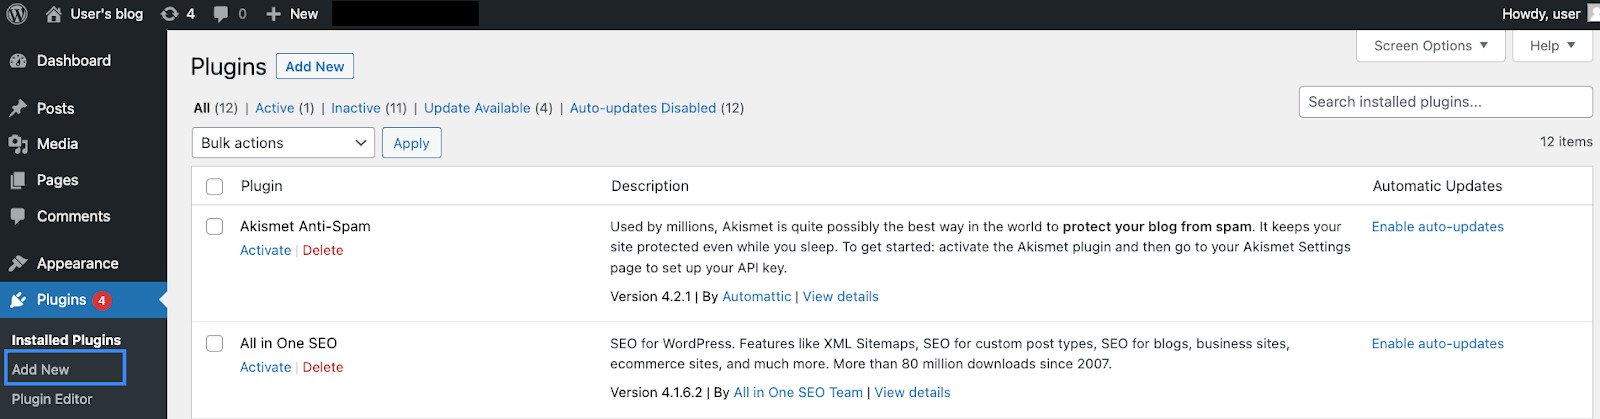
Using the sidebar placed within the Wordpress Admin, click the Plugins element and click the Add New text below Installed Plugins.
On the next page, click the Upload Plugin button to upload the wp-graphql ZIP file that you downloaded.
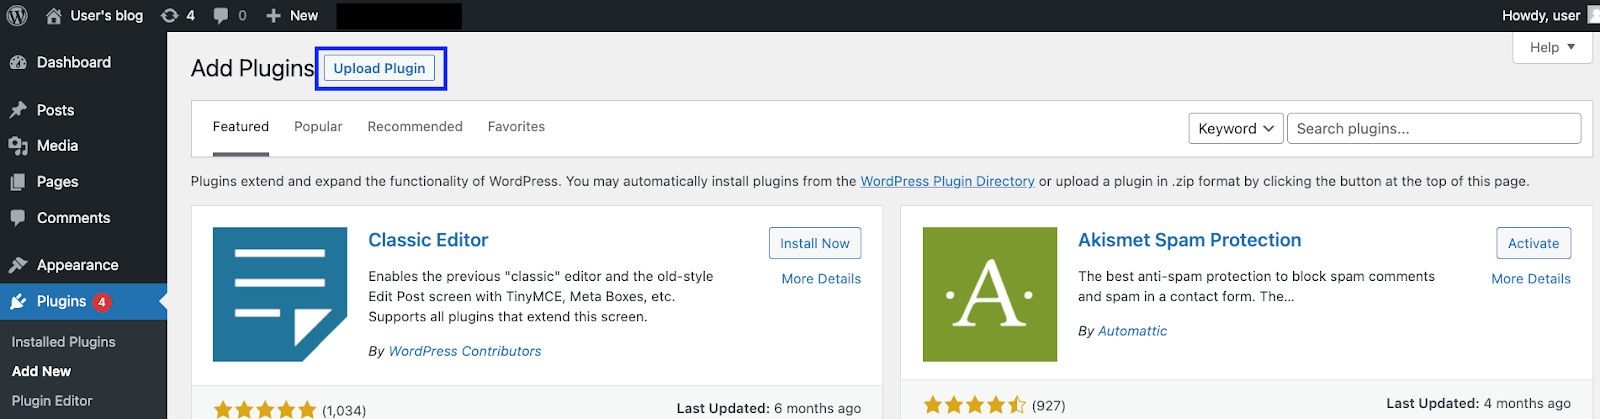
Click the next Choose File button to open your computer’s file explorer then select the wp-graphql ZIP file that you downloaded.
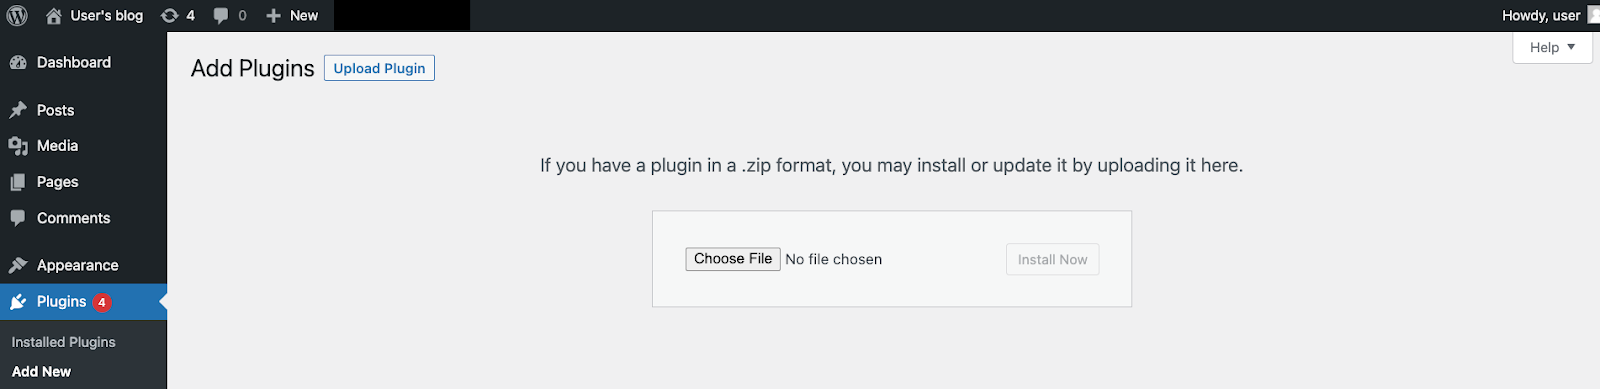
Note: The Install Now button will be disabled until a ZIP file has been uploaded.
After the ZIP file has been uploaded, click the Install Now button at the right to install the plugin.
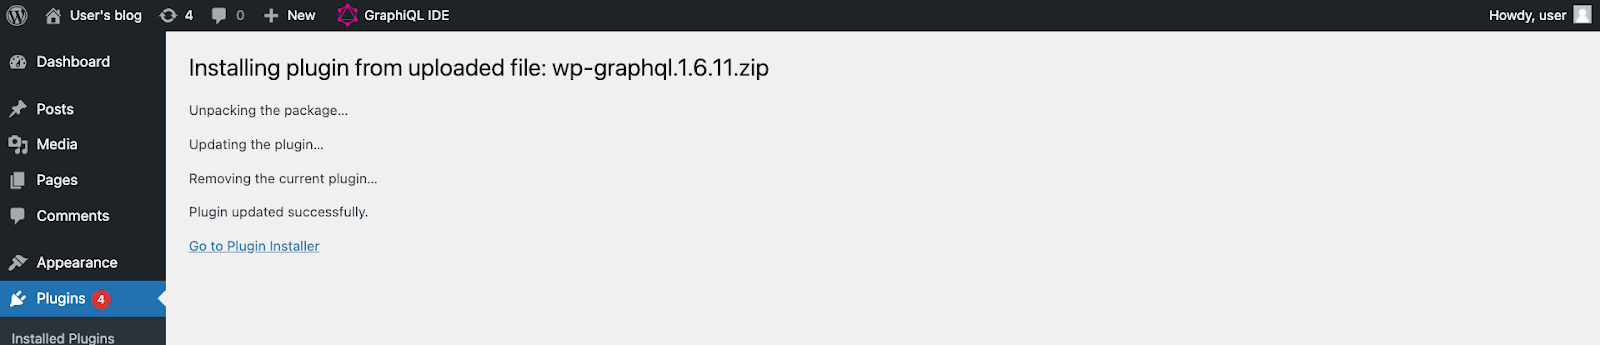
An installation text will be shown to let you know the installation status of the plugin. As shown in the image below, the wp-graphql plugin was successfully installed into the Wordpress application.
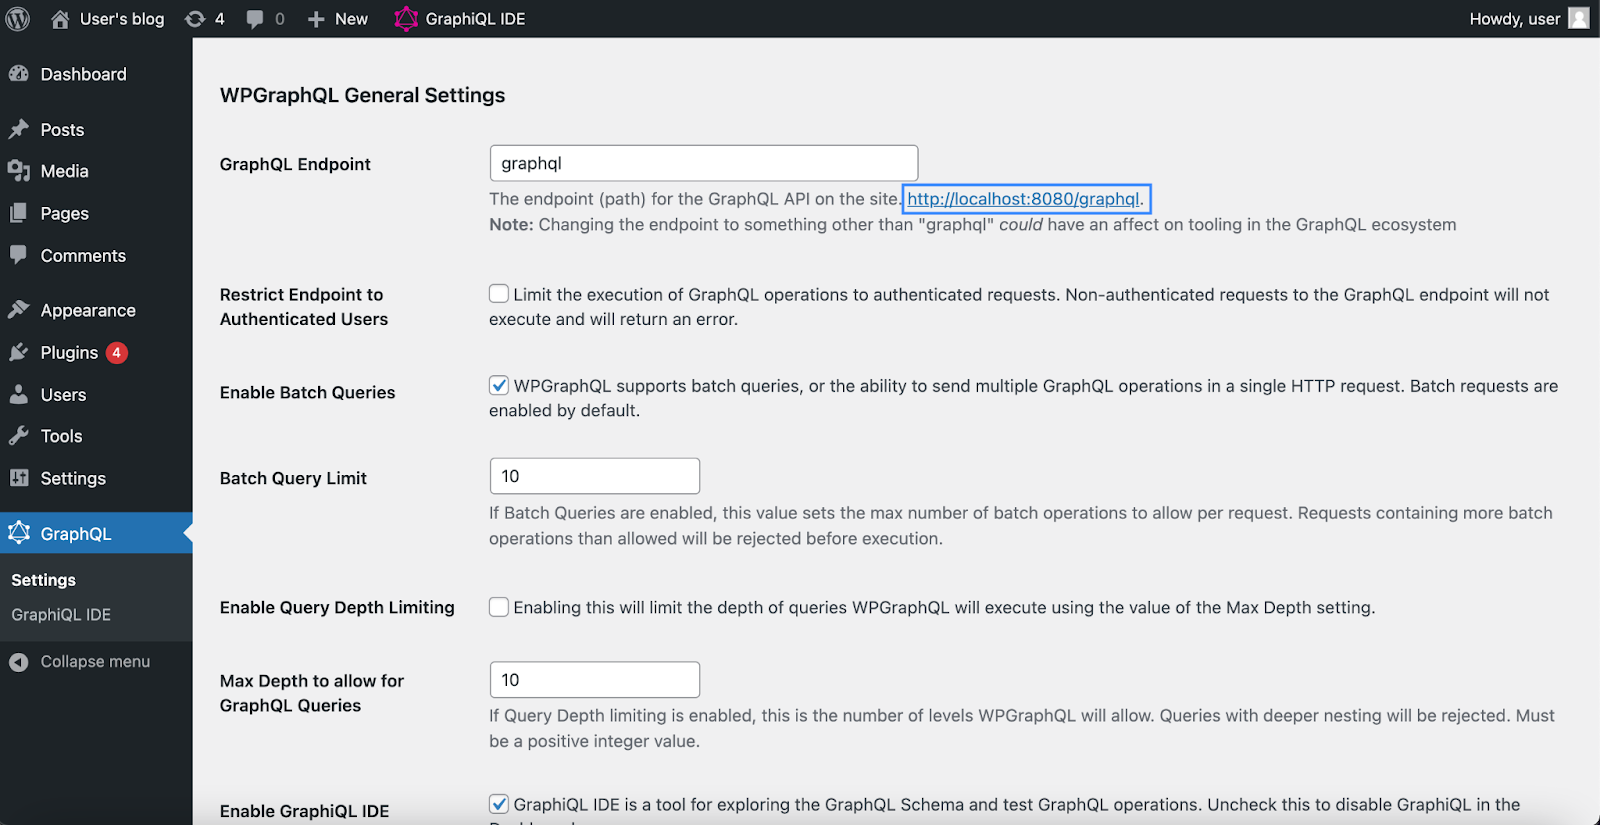
With the wp-graphql plugin installed, you will notice that a GraphQL element has been added to the top and side navigation bars.
Click the GraphQL > Settings element on the side navigation bar to view the default settings of the Wp-GraphQL plugin.
Take note of the GraphQL Endpoint outlined in the image below. You will need the endpoint when setting up a frontend application to use the Wordpress GraphQL API.
GraphQL Operations Through The GraphiQL IDE
In the previous section, you downloaded a ZIP file containing the Wp-GraphQL plugin and installed it within your Wordpress application. Let’s now proceed to perform operations against the GraphQL API exposed by using the Wp-GraphQL plugin for your application.
The GraphiQL IDE is a handy tool for developers as it provides a web-based editor to perform GraphQL operations and also introspect a GraphQL API.
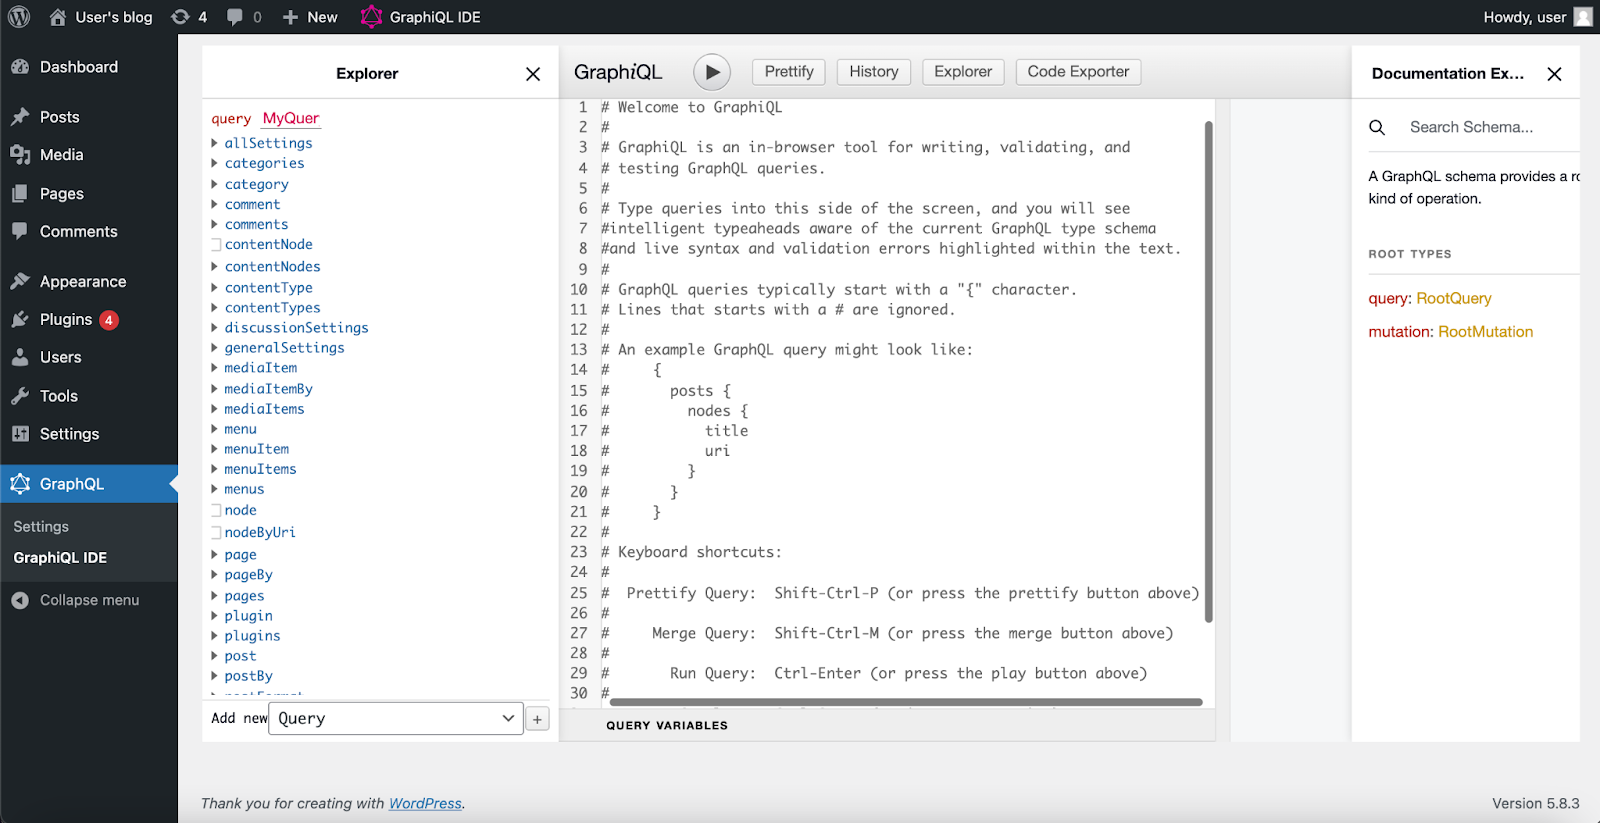
Click the GraphiQL IDE text within the navigation bar of the Wordpress application to navigate to the GraphiQL IDE. The image below shows the wordpress dashboard with the GraphiQL IDE text highlighted.

On the next page, you will find some commented text within the GraphiQL editor that explains how to use the editor.
A Query Operation
Paste the GraphQL query below into the GraphiQL editor to fetch the details of all users within your Wordpress application.
query fetchUsers {

  users {

    nodes {

      id

      username

      databaseId

      email

      firstName

      lastName

    }

  }

}
Click the highlighted play icon to execute the fetchUsers query added to the editor.
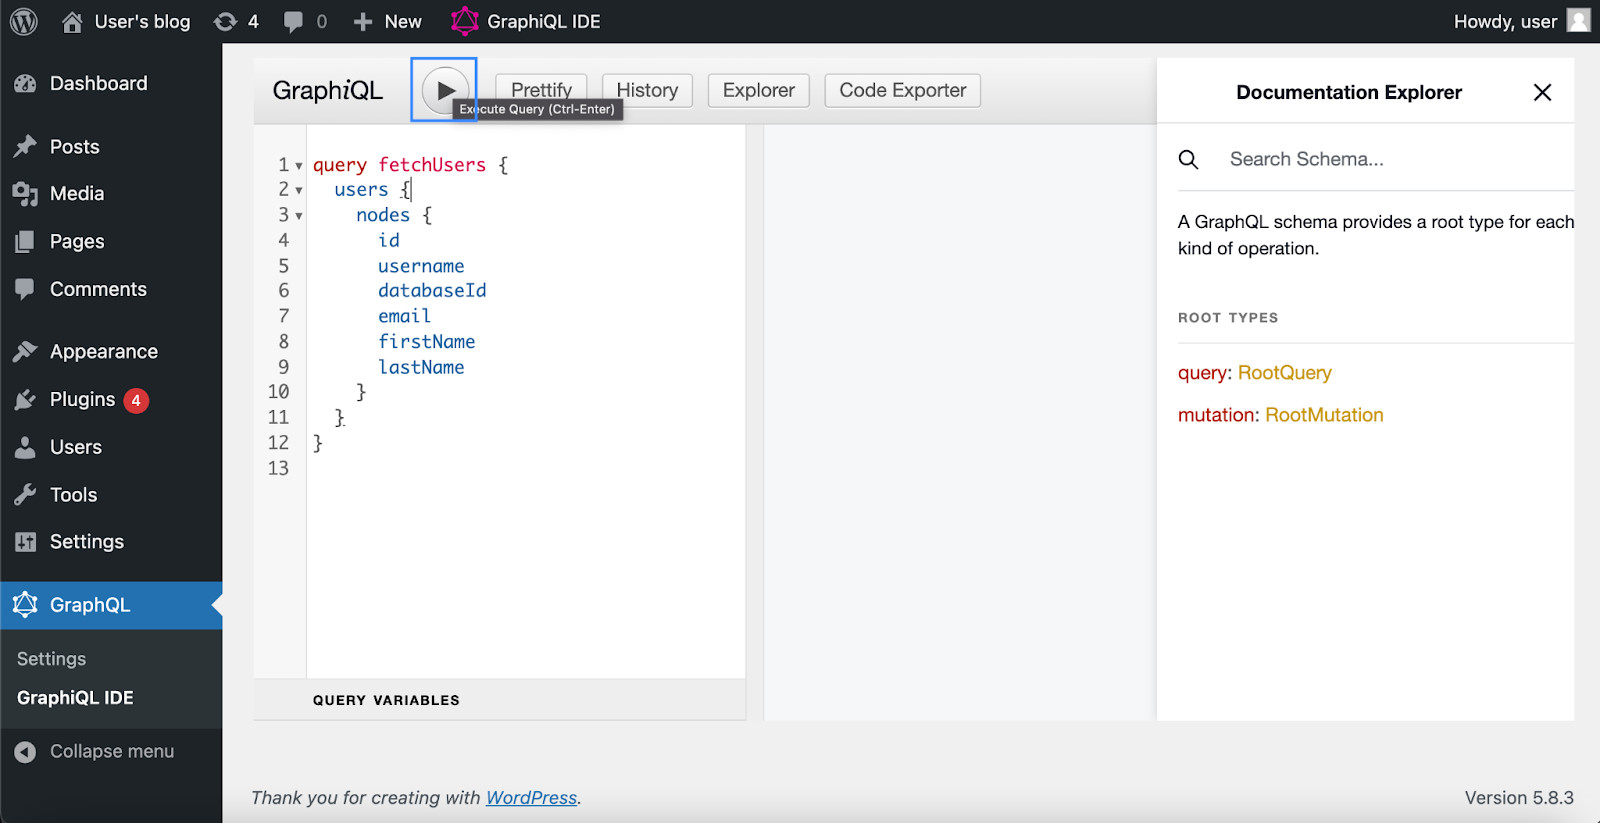
Details of the default user created by Bitnami will be retrieved and displayed at the right side of the IDE in a JSON format.

A Mutation Operation
Paste the gql template below into the GraphiQL editor to create a mutation operation which when executed will insert the data of a new user into the Wordpress application’s database.
Note: Without a role being specified in the createUser mutation, the user will be created with a subscriber role.
mutation createUser {

  createUser(

    input: {


    firstName: "John",


     lastName: "Doe",


    email: "[johndoe@gmail.com](mailto:johndoe@gmail.com)",


     displayName: "John Doe",


     password: "password01"

}) {

    user {

      name

      email

      firstName

      lastName

      id

    }

  }

}
Click the play icon to execute the createUser mutation operation added into the GraphiQL IDE.
After the createUser mutation has been executed, the id, email, and names of the user created will be displayed on the right side of the GraphiQL IDE in JSON format.

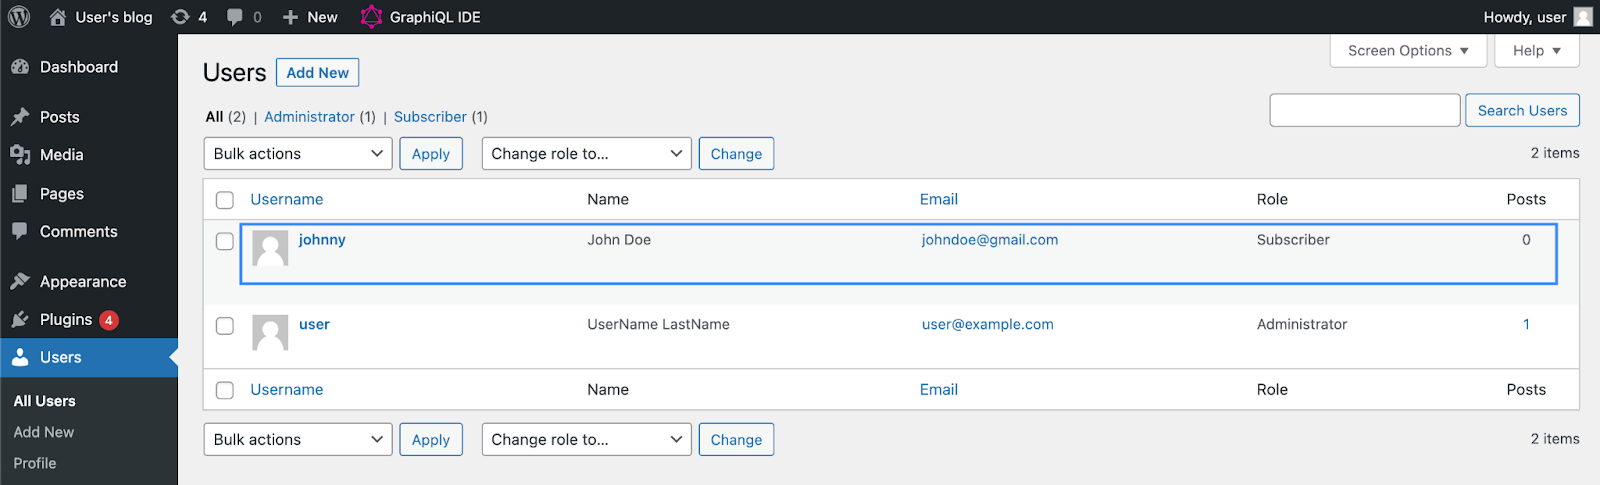
To further confirm that a user was created, click the Users item within the side navigation bar to navigate to the Users page where you will see all the created users.
As outlined in the image below, a user was created with the name John Doe and email address johndoe@gmail.com.
GraphQL Operations Through An External Application
Previously, you accessed and inserted data into the Wordpress application through the GraphiQL IDE. You will proceed to learn how you can connect an external client application created using React.js to the GraphQL API.
Bootstrapping A React.js Application
Execute the command below from your computer terminal to bootstrap a React application using the create-react-app CLI.
npx create-react-app react-wordpress
Execute the command below to change your terminal directory into the react-wordpress application that was bootstrapped above.
cd react-wordpress
Execute the command below to install the packages needed for setting up a GraphQL connection from the React.js application.
The @apollo/client package will be used to create an instance for establishing a connection with the GraphQL API and also executing the GraphQL queries.
npm install @apollo/client graphql
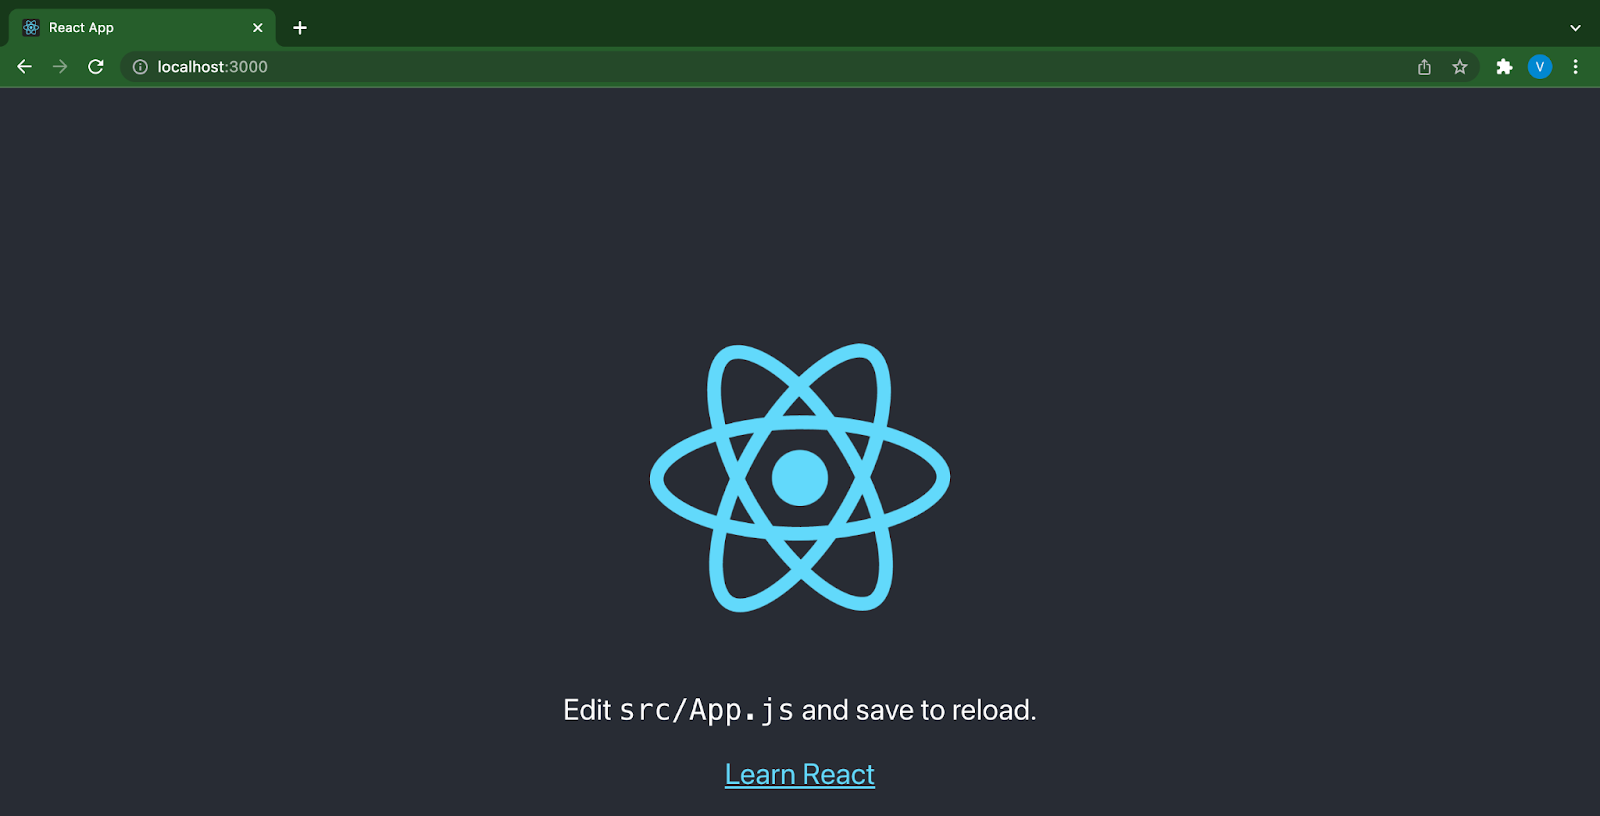
Execute the command below to start the boilerplate React.js application and view it through your web browser at http://localhost:3000
Creating A GraphQL Connection
Using your preferred code editor, replace the existing code in the src/App.js file with the code below to create a connection with the Wordpress GraphQL API;
import './App.css';
import {
 ApolloClient,
 InMemoryCache,
 ApolloProvider
} from "@apollo/client";
import Home from './home'

const client = new ApolloClient({
 uri: 'http://localhost:8080/graphql',
 cache: new InMemoryCache()
});

function App() {
 return (
   <ApolloProvider client={client}>
     <Home />
   </ApolloProvider>
 );
}

export default App;
The code above modified the src/App.js file to instantiate the ApolloClient class and also wrapped the component tree with the ApolloProvider Higher Order Component (HOC), having the ApolloClient passed in as a prop.
The code block also added a Home component as a child of the ApolloProvider HOC. You will create the Home component in the next step.
Note: For a production use case where your Wordpress GraphQL API has been deployed, consider storing the endpoint URL as an environment variable to avoid exposing the URL endpoint.
Create a home.js file within the src directory to contain a component that will render data fetched from the GraphQL API.
Paste the code below into the home.js file;
import React, { } from 'react'
import { gql, useQuery } from '@apollo/client'

const FETCH_POSTS = gql`
   query fetchPosts {
       posts {
       nodes {
       id
       date
       author {
           node {
               name
           }
       }
       title
       comments {
           edges {
           node {
               id
           }
           }
       }
       content
       }
   }
   }
`

const center = {
   display: 'flex',
   alignItems: 'center',
   justifyContent: 'center',
   flexDirection: 'column'
}

const Home = () => {
   const { data, error, loading } = useQuery(FETCH_POSTS)

   if (loading) {
       return (
           <div>
               <p>Loading All Posts</p>
           </div>
       )
   }

   if (error) {
       return (
           <div>
               <p>An Error Occurred While Fetching All Posts</p>
           </div>
       )
   }

   return (
       <div style={{ padding: 10 }} >
           <div style={{ ...center }} >
               <h1>  My React.js Application </h1>
               <p> Displaying Data From A GraphQL Powered Wordpress API </p>
           </div>

           <hr />

           <h2> All Posts: </h2>
           <ul>
           {data.posts.nodes.map(({ id, author, date, content, title, comments }) => (
                   <li key={id} >
                       <div>
                           <h3> {title} </h3>
                           <p> Created by {author.node.name} on {new Date(date).toUTCString()} </p>

                           <p> {content} </p>

                           {comments.edges.length} comments.
                       </div>
                   </li>
               ))}
           </ul>
       </div>
   )
}

export default Home
When rendered, the Home component above will render all posts created within the Wordpress application.
The FETCH_POSTS variable contains the gql template literal for a GraphQL Query to fetch all posts with their associated data. The template literal is then passed to the useQuery React Hook from the @apollo/client package to perform a query operation, and the data, error, and loading values are destructed from the useQuery hook.
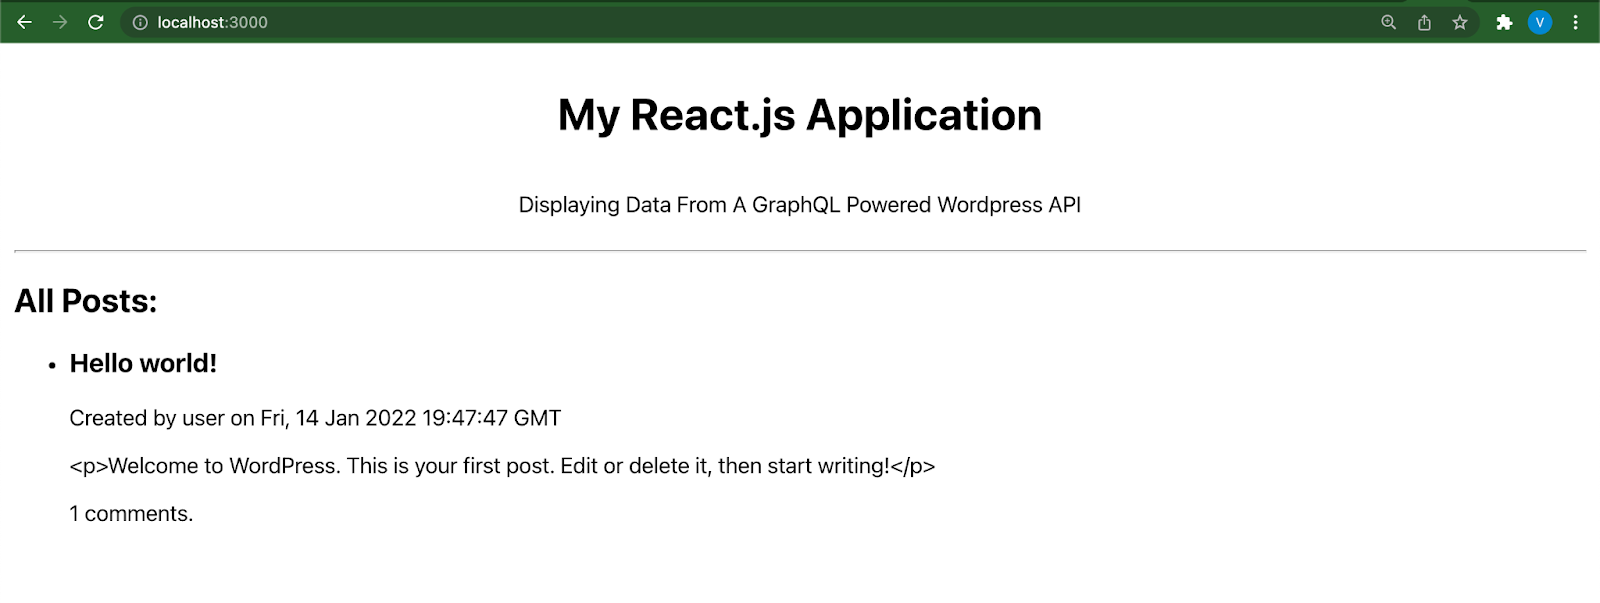
Return back to the browser tab running the React.js application to view the Wordpress data rendered from the Home component.
The image below shows the React.js application displaying all posts within the Wordpress application.
Note: The “Hello World” post was automatically created by the Bitnami image to populate the wordpress application.
At this point, you have successfully connected a frontend application to the GraphQL API exposed by the wp-graphql plugin within the Wordpress application.
Further Considerations
In this tutorial, you learned about the Wp-GraphQL plugin, and how to install it into a running Wordpress application. You also explored the GraphQL API through the GraphQL IDE, as you executed two queries and a mutation, and also explored the GraphQL schema.
To leverage the knowledge gained from this tutorial in building a more complex application, it is recommended that you consider the following;
Using a Static Site Generator (SSG)
A static site generator is a tool used to generate HTML pages containing data from a provided source, which could be an API or markdown file. A static site generator is used to reduce the loading time of a blog as the pages containing the data have already been generated.
When being used as a headless CMS, the GraphQL API from Wordpress will fit in perfectly as the data source of a static site generator such as Gatsby. With the gatsby-source-wordpress and WpGatsby plugins, Gatsby has a close integration with Wordpress to simplify the process of using Wordpress as a data-source.

